How I publish to this website using iOS
This post was entirely written and published using iOS.
The reason I think this is noteworthy, is because this is a static website, generated by a static site generator — SSG for short. In my case, this SSG is Jekyll.
I’m not going to explain SSGs here. But the one thing to know is that mobile operating systems like Android or iOS lack the necessary capabilities to publish to such a site directly. Because a static site needs to be generated first. And that is a separate step that needs software that does not run on a mobile OS. There is no web interface, either. And so everyone’s workflow to get around this limitation is different. Here’s mine.
The workflow
This is the gist of it in list form:
- Create new content via an iOS git client.
- Push the new content to the remote repository stored on GitLab.
- GitLab CI builds the site and publishes it using GitLab Pages.
Creating new content
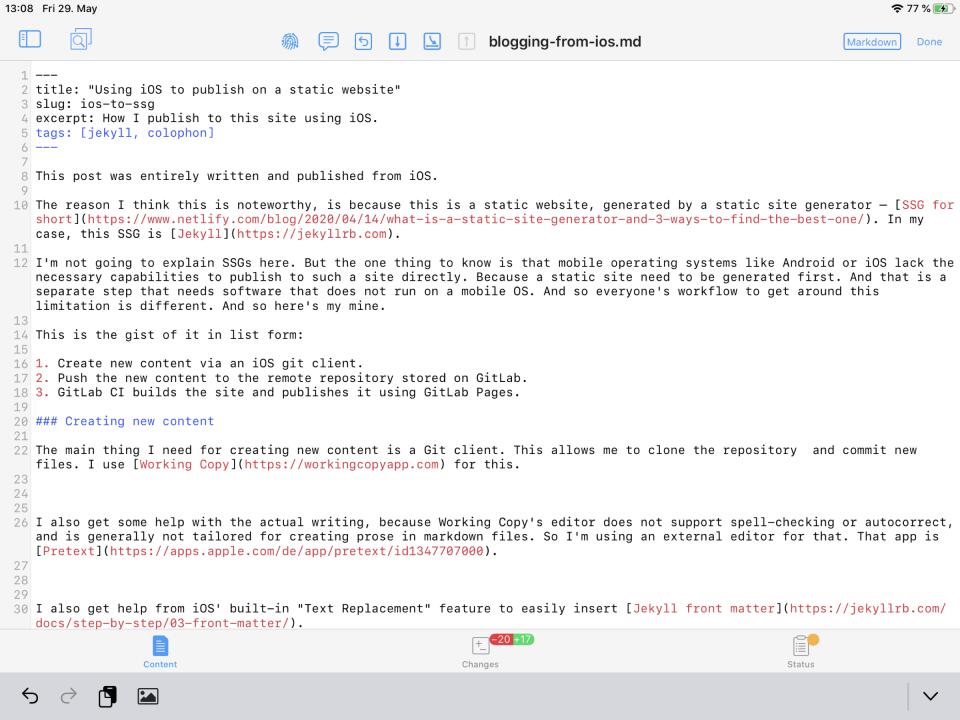
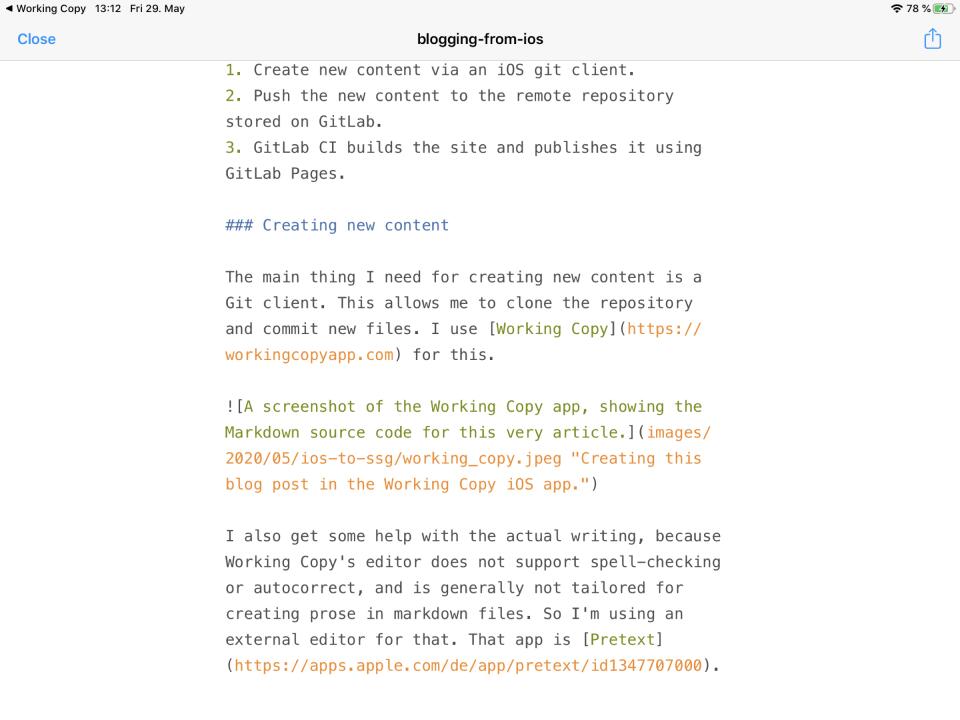
The main thing I need for creating new content is a Git client. This allows me to clone the repository and commit new files. I use Working Copy for this.

For most of the actual writing, I’m using a separate Markdown editor app called Pretext. Because Working Copy’s editor does not support spell-checking or autocorrect, and is generally not tailored for creating prose in Markdown files.

And I’m using iOS’ built-in “Text Replacement” feature to easily insert Jekyll front matter.
Images
To get images into a blog post, I use a workflow I created using iOS’ Shortcuts app. It resizes images to 2400px in width and saves them directly to Working Copy.
Then I can reference those images per normal markdown syntax. The jekyll_responsive_images-plugin then generates all the assets I need to serve the image responsively.
Publishing
To then publish a post is as easy as pushing the new content to the remote repository on GitLab. Then my GitLab-CI configuration builds the site using Jekyll and publishes it to GitLab Pages.
And there you have it: a blog post entirely created via an iOS-only workflow.