My sporadic and minimalist darkroom
I enjoy making silver gelatin prints from my negatives. To be able do this, I needed a light tight room (to prevent the light-sensitive paper to be exposed uncontrollably), water (to mix the chemicals and to wash to finished prints), and power (for the enlarger). Our little bathroom fitted the bill nicely.
Since this is not a permanent arrangement, the room needs to be converted into a darkroom only sporadically. This post is about how I do it and what I use.

Preventing Lightleaks
The bathroom doesn’t have windows – yet, is ventilated – so I didn’t have to worry much about (day)light coming in. However, I do cover most of the door cracks with towels.
The Safelight
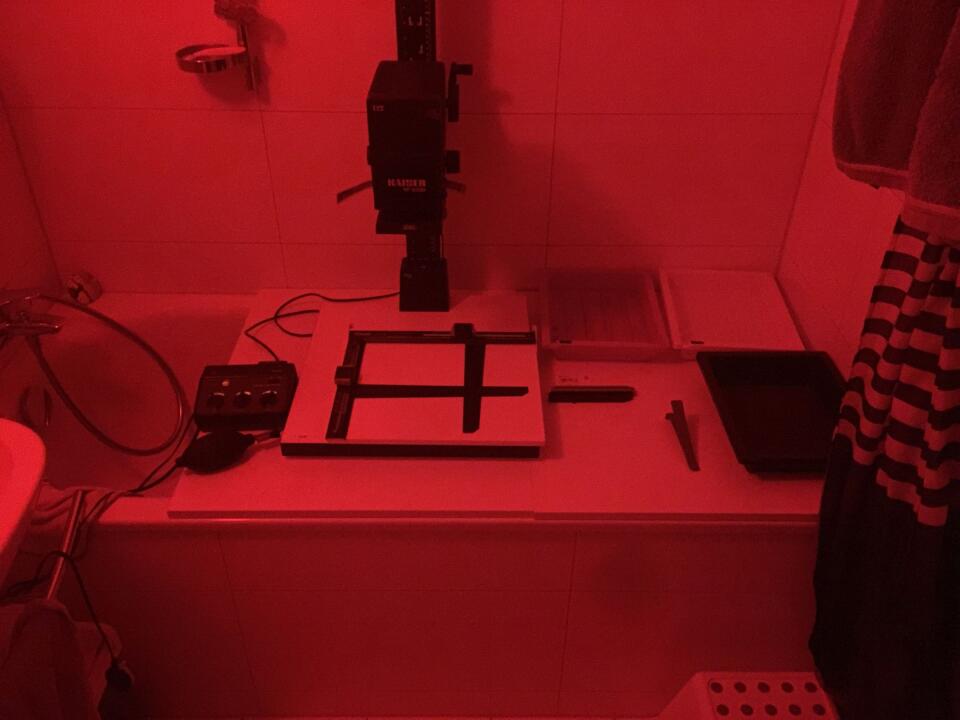
A safelight makes it possible to work with light sensitive paper, because its red light does not expose the paper. I made sure to get a lamp for the bathroom, which simply takes standard E27 lightbulbs. To have both regular white light and red light from the same source, I then bought a RGBW LED lightbulb with a remote. With this, I can conveniently switch between “red” and “white” while working.
At first I had a bulb from Osram. But the remote stopped working reliably. So, I now have one from iLC. Fingers crossed that remote will last longer.

The Workspace
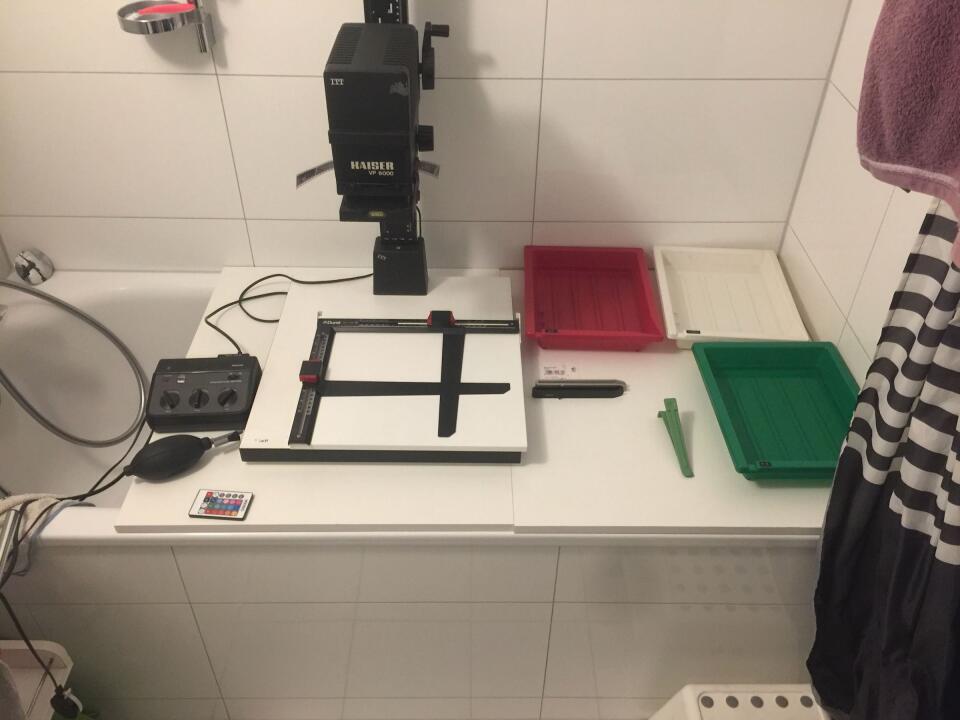
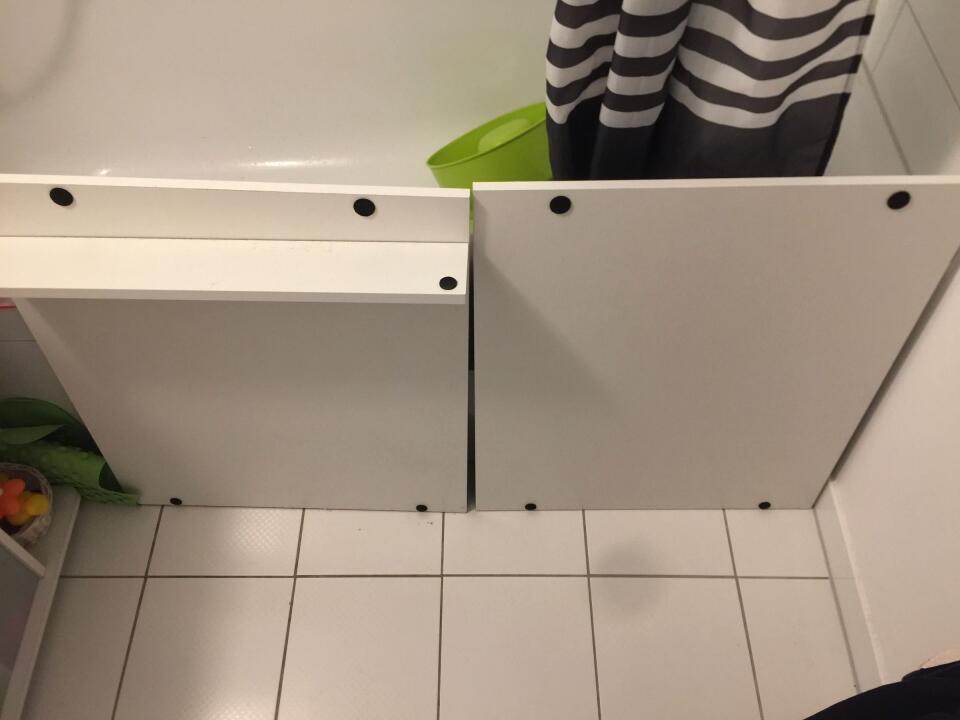
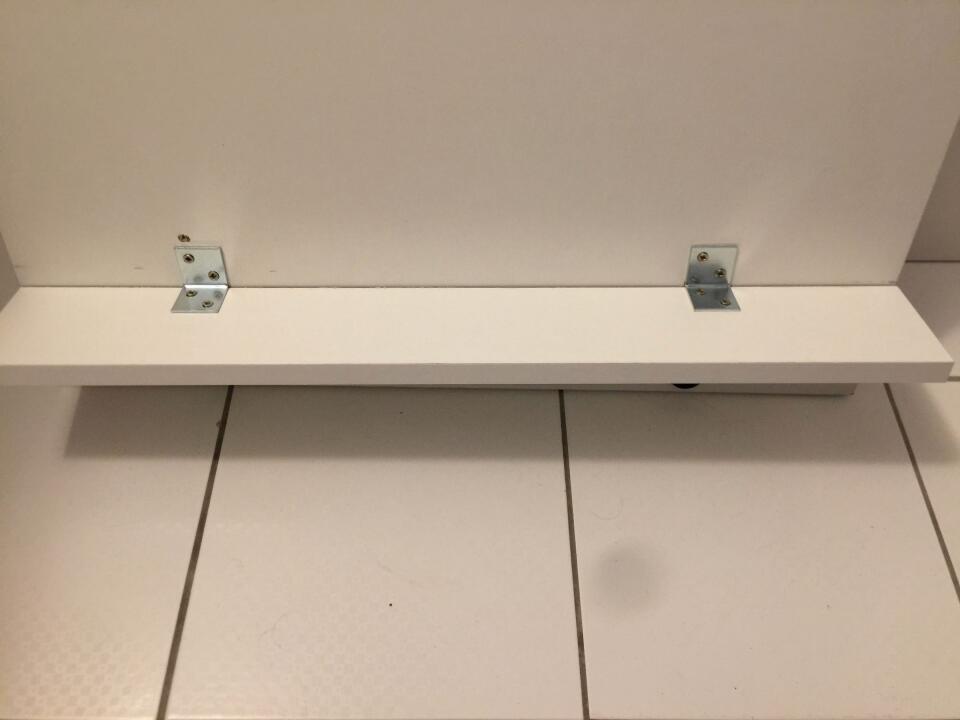
The bathtub serves as the workspace. It’s covered by two shelfs I bought at the hardware store. I had both 60cm wide shelfs cut to the correct length/depth. I kept the remaining bits and screwed one them to a shelf at a 90-degree angle to create a border, preventing the piece from falling into the tub.
I use a folding chair to be able to work sitting down while producing prints.


The Photo Gear
The enlarger I use is a Kaiser VP-6000, which can produce prints from both my 35mm and 6x6 medium format negatives. The right half of the workspace fits three developing trays for prints up to 24x30cm in size. I already bought trays for 30x40cm prints, but haven’t produced any yet. So I still need to see how comfortable the setup is to produce larger prints.
Not on the pictures is a larger fourth tray inside the bathtub, which I use to wash the finished prints.
And I use a little shelf at the right wall to keep all the paper, scissors and exposure filters handy.
Setup Time
Before starting an actual print, all of this needs to be set up. I think it takes me around 30 minutes to do so. What you see on the photos is actually arranged in less than half of that. But the negative needs to be found, de-dusted, and carefully be put into the negative holder. The enlarger needs to be set to the correct height, and might need have its lens changed. The easel needs to be adjusted. The chemicals have to be mixed. This all takes time.
Gear Storage
When not in use, all of these tools and gear is stored in various place around the apartment: in the wardrobe, a little storage room, or under the bed.
